Dec
01
2025
20:54
Dec
01
2025
20:54
Installation Guide
Whether it’s precise alignment, curved surfaces, or modern LED lighting, our accessories provide the perfect solution for every need.
Installation Guide – JP Decor Flexible Wall Panels
JP Decor panels are not only aesthetically pleasing, but also extremely easy and quick to install. The guide below will walk you step by step through the installation process, helping you achieve a perfect final result – on both flat and curved surfaces.
1. Surface preparation
For proper installation, a stable, dust- and grease-free, and preferably smooth surface is required. Gypsum board, MDF, plywood, or plastered walls are all suitable substrates.
2. Fixing – installing the main panel
Option 1: Using mounting battens (aluminium or wood)
- First, install the mounting profiles horizontally onto the wall.
- Then attach the panel to these profiles by screwing or gluing it in place.
Option 2: Direct bonding
- Apply flexible construction adhesive evenly to the back of the panels.
- Press firmly against the wall until the adhesive sets.
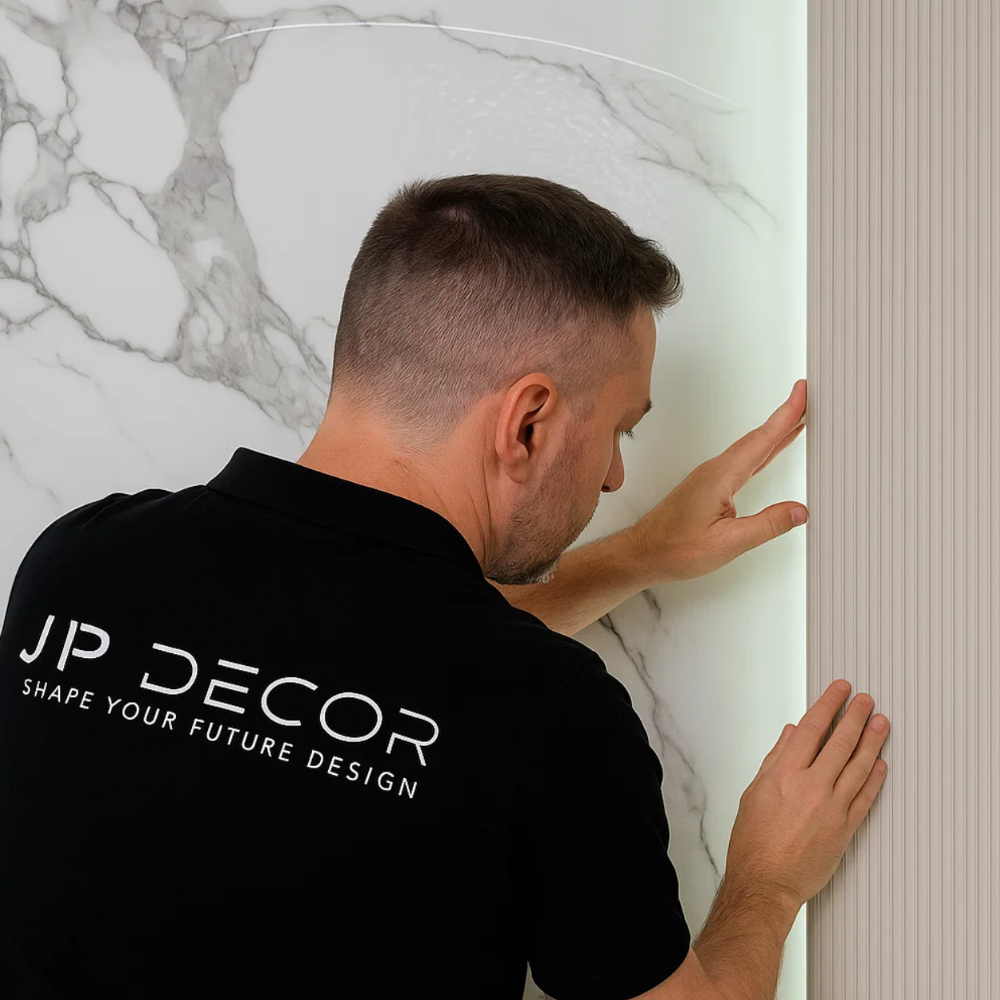
3. Panel alignment, corners, edge finishing and curved surfaces
- For precise alignment, use connecting, edge-finishing or corner profiles, which ensure smooth transitions, protection, and a clean aesthetic finish.
- The profiles are available in two colours: black and anodised copper (except for the LED strip profile).
- As an alternative solution, panels can also be installed directly next to each other with seamless joints.
4. Installation combined with LED lighting
If you are looking for an extra visual effect, you can use the illuminated profile option:
- Slim integrated silver-coloured profile with LED strip and opal diffuser.
- Ideal as ambient lighting for receptions, feature walls, or exclusive interior details.
- Can be used between two panels or as an edge-finishing solution.
6. Tips for a perfect result
- Use a spirit level and precise markings to avoid misalignment.
- Cut the panels using a fine-tooth saw or a circular saw.
- When installing on curved surfaces, always check the bending radius and work slowly and gradually.
Detailed installation manual: Download